Get your site looking like yours
This is the exact order we used to set up our own demo salon — hero image to opening hours, in under 10 minutes. Every step below is a single page in your admin dashboard.
First, sign in at app.salondo.co.uk with the email and password you created when you signed up.
Add your hero image and text
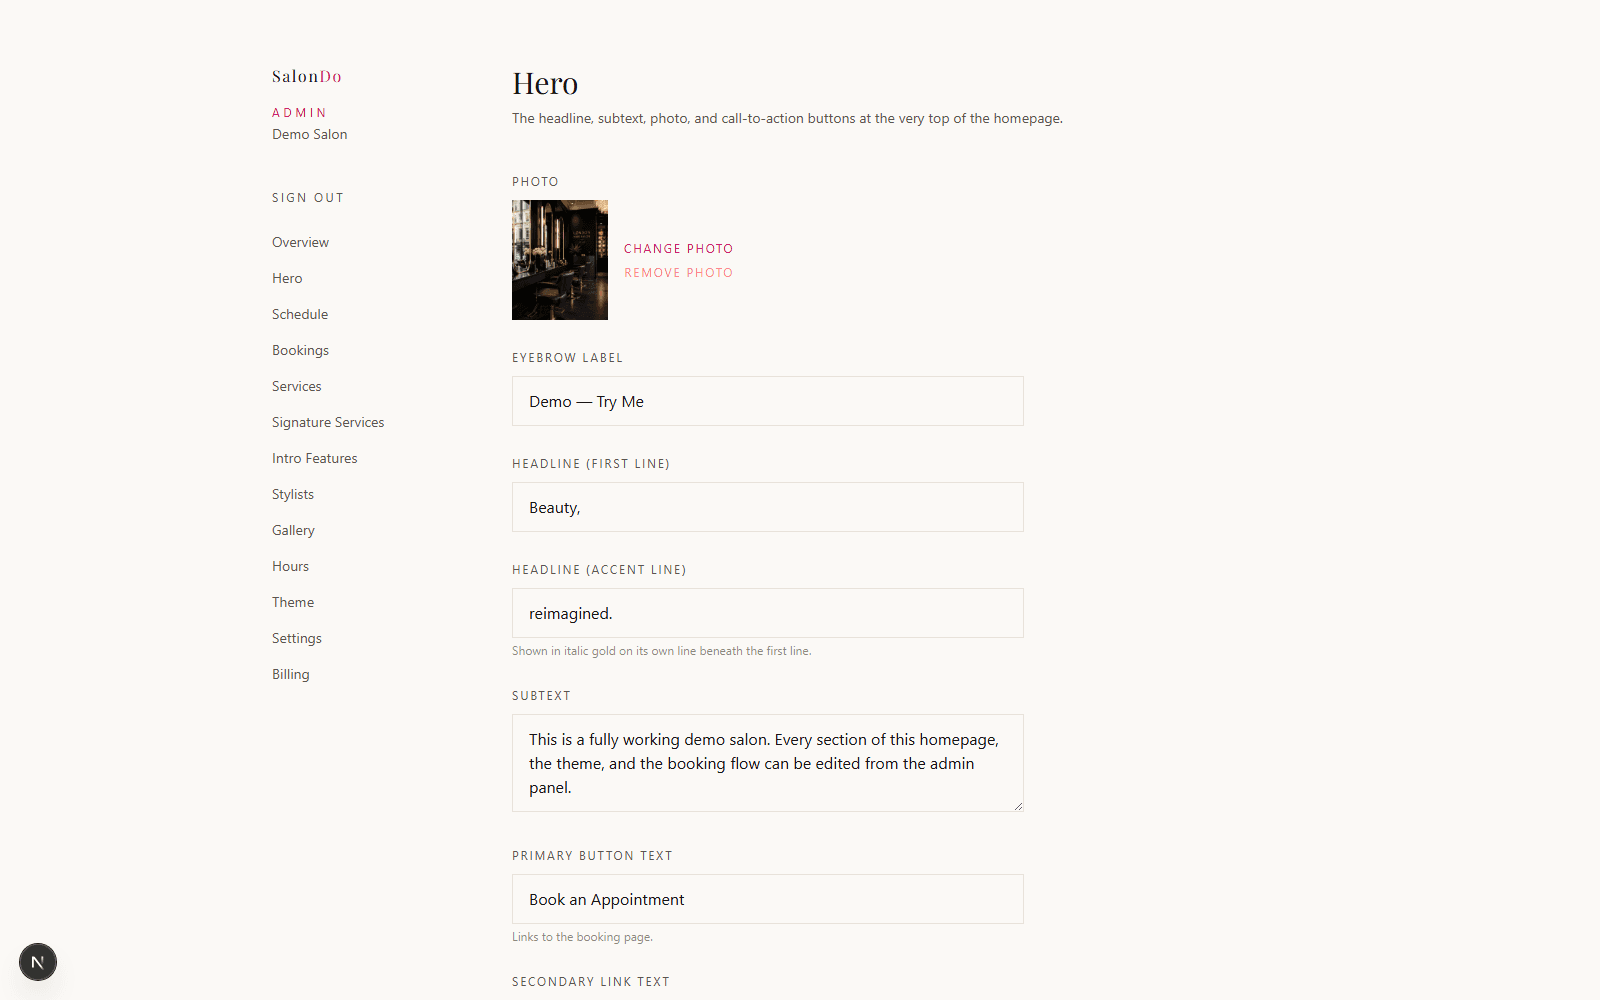
Admin → Hero
Upload the photo that appears at the top of your homepage, then fill in the eyebrow label, headline, subtext and button text. This is the first thing every visitor sees, so make it count. No photo of your own yet? Pick one from the built-in stock photo library instead — you can always swap it later.
Add your intro features
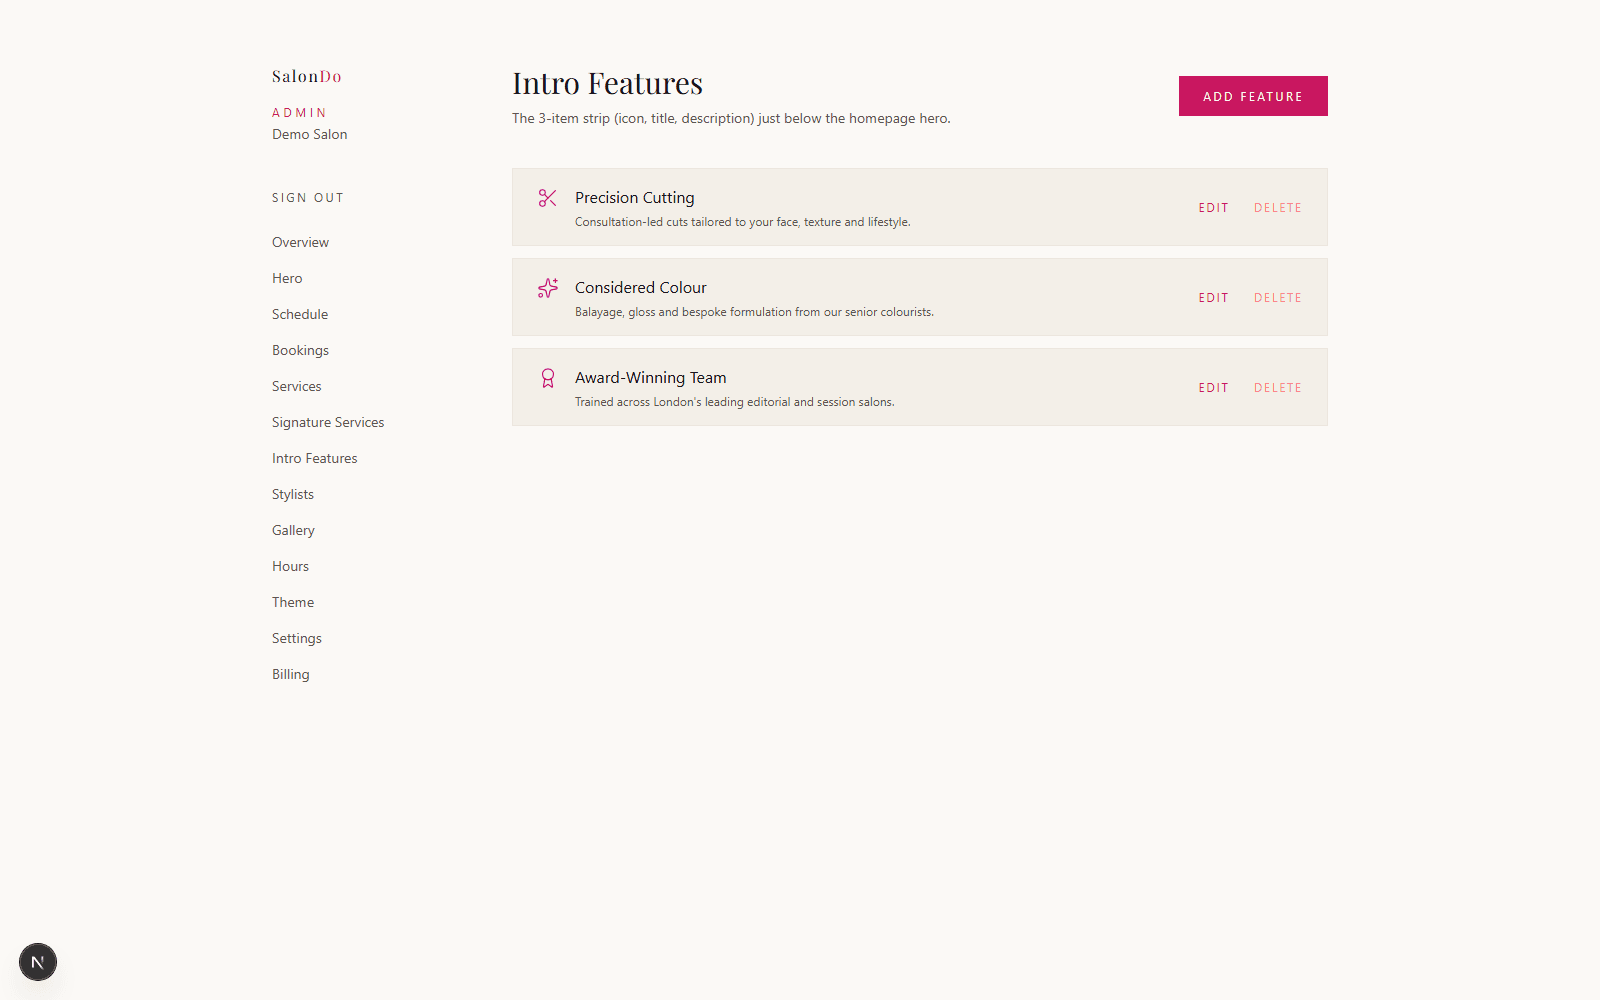
Admin → Intro Features
Fill in the 3-item strip (icon, title, description) shown just below your hero — a quick way to call out what makes your salon worth choosing before a visitor scrolls any further.
Highlight your signature services
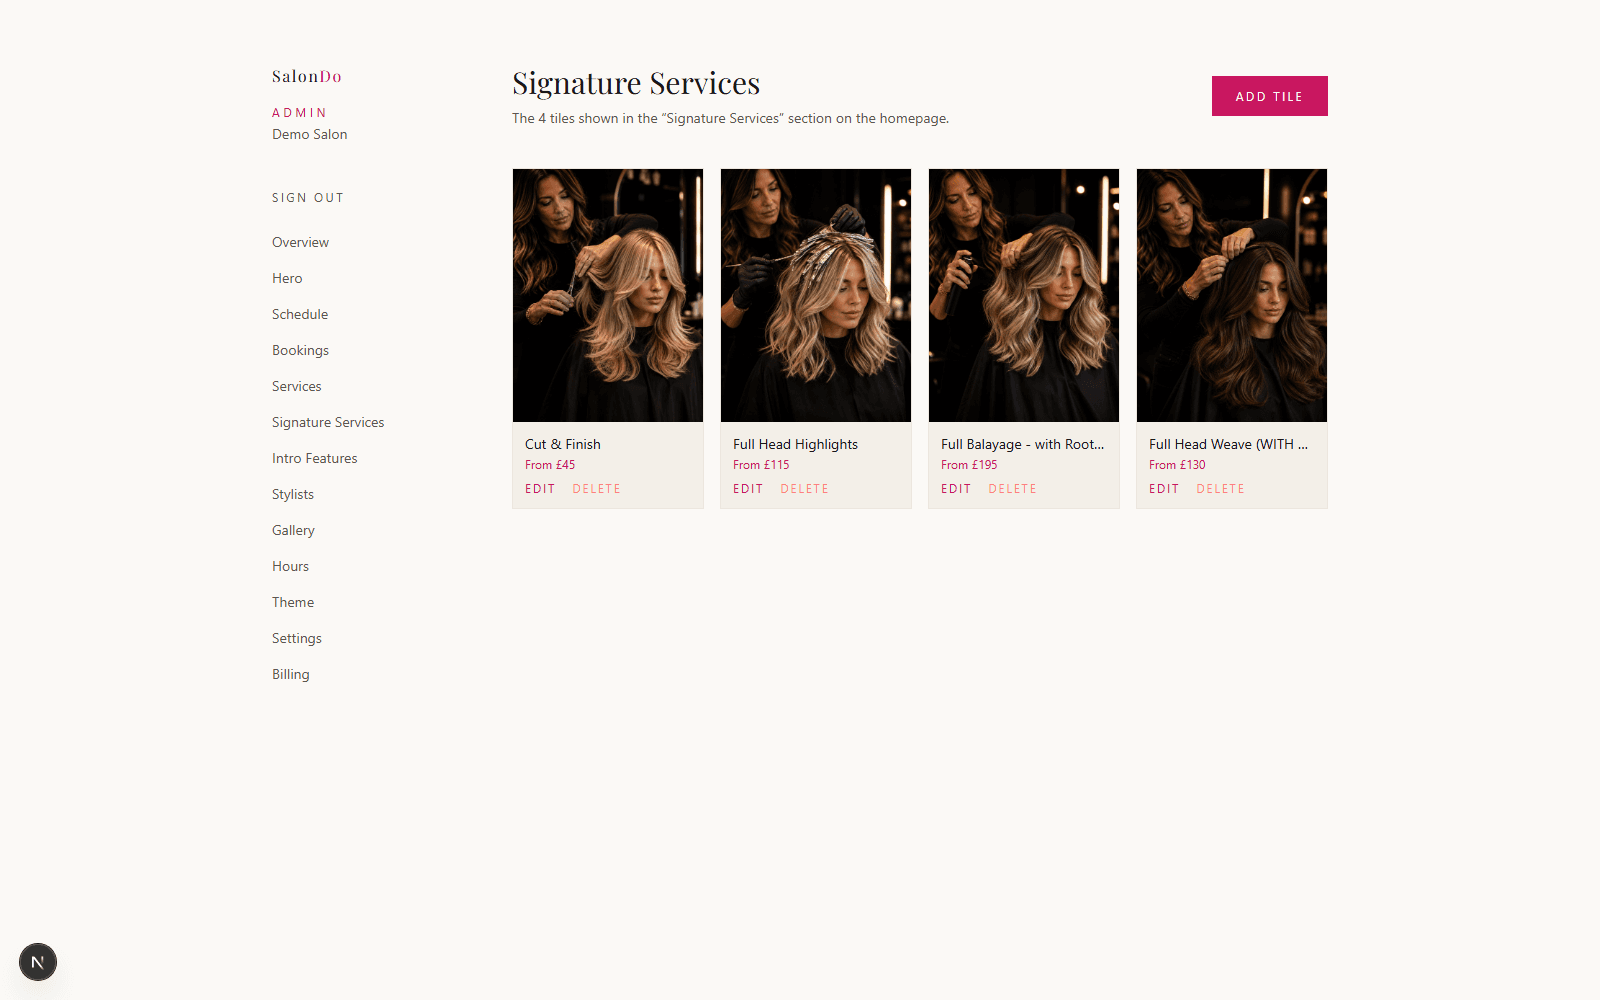
Admin → Signature Services
Upload a photo for each featured treatment, then add its name and a starting price. These are the tiles shown in the “Signature Services” section of your homepage — pick the ones you most want new clients to book. Each one also has a stock photo library built in, so you're never stuck without an image.
Introduce your team
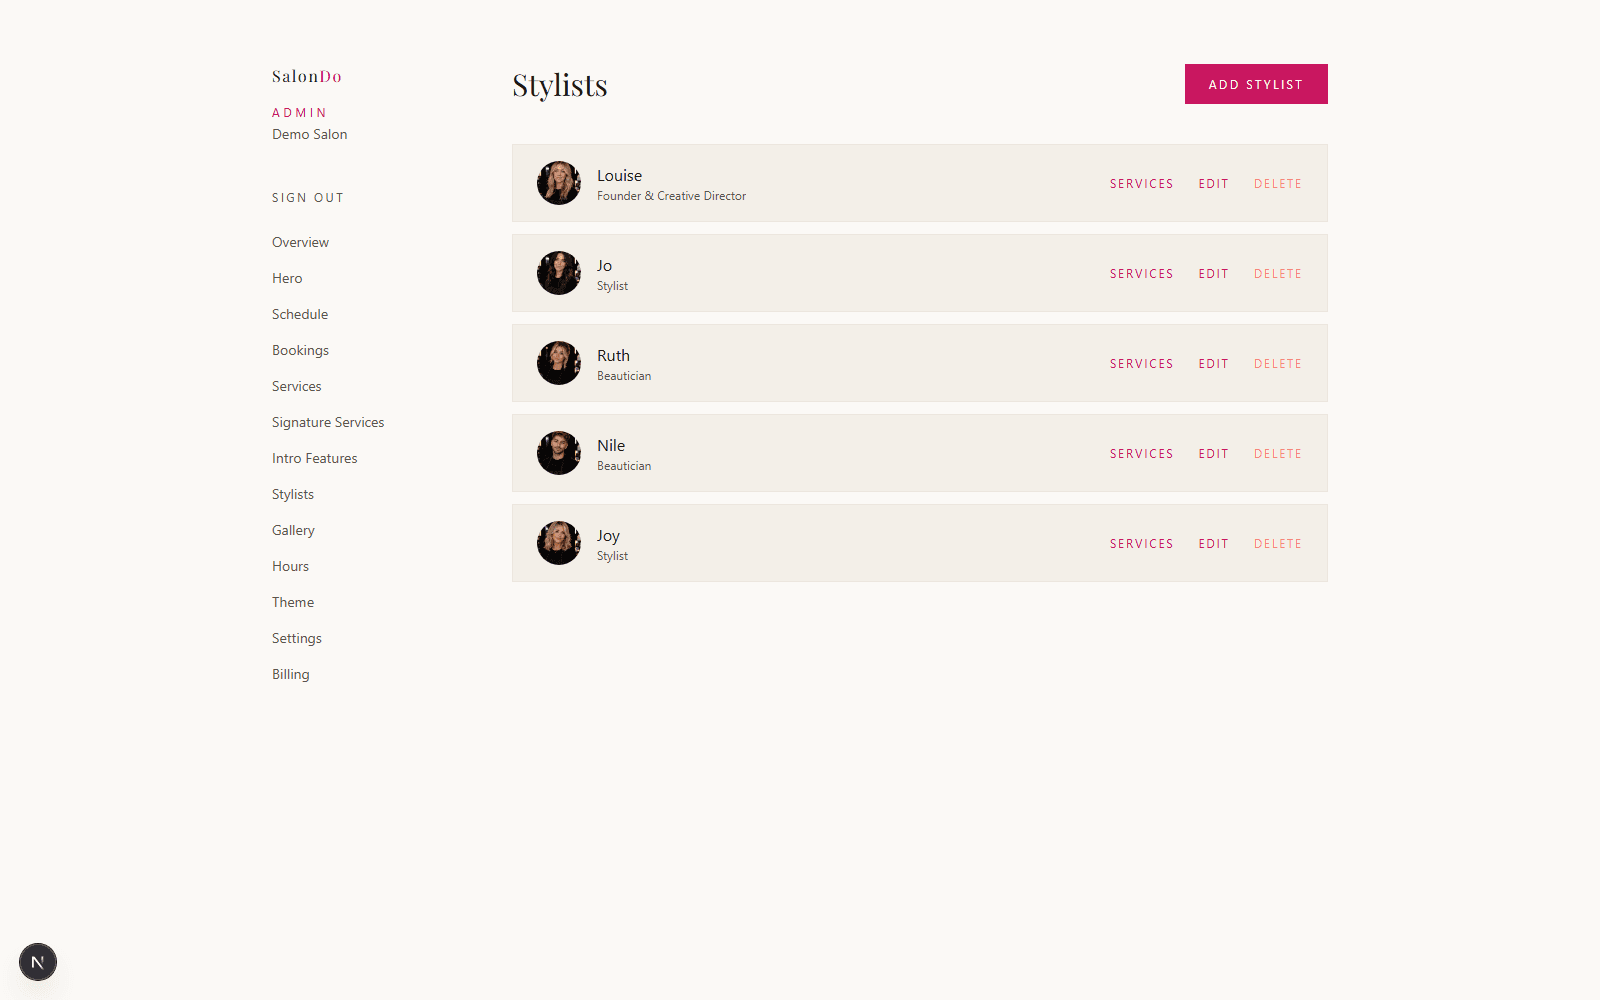
Admin → Stylists
Add a photo, role, bio and social links for each member of your team. Clients like to see who they're booking with — a warm, specific bio goes a long way. Don't have team photos yet? Pick one from the stock photo library until you do.
Show off your work
Admin → Gallery
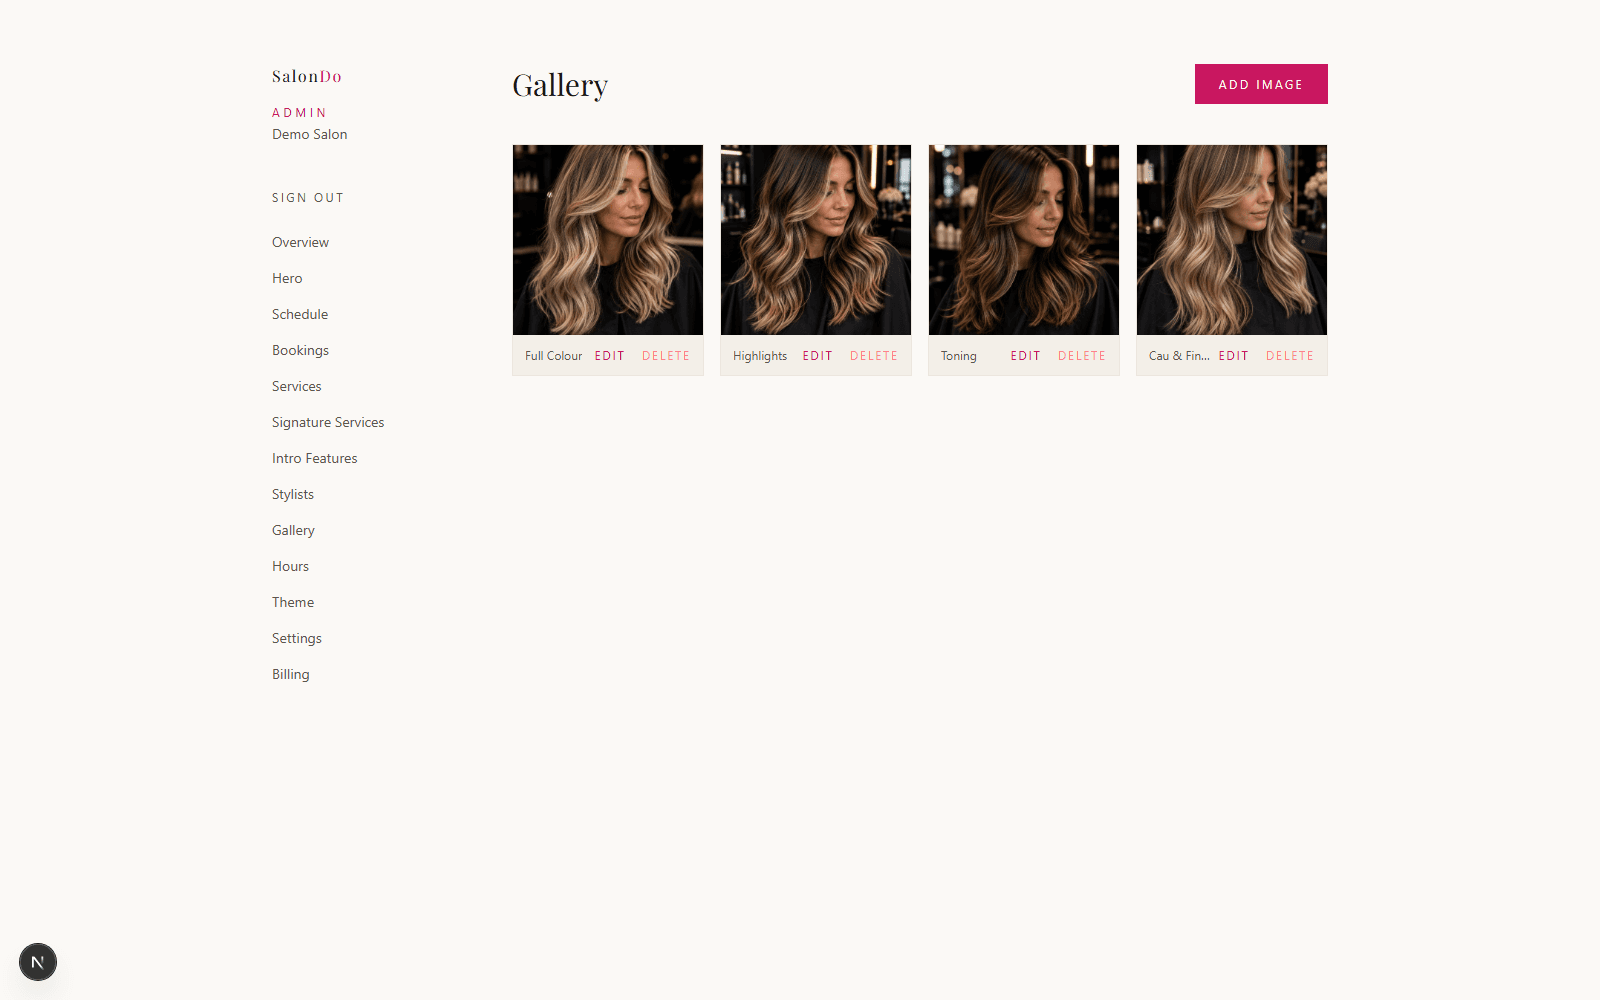
Upload photos of your best work to build out your portfolio. There's no limit — add as many as you like, and edit or remove them any time.
Set your opening hours
Admin → Hours
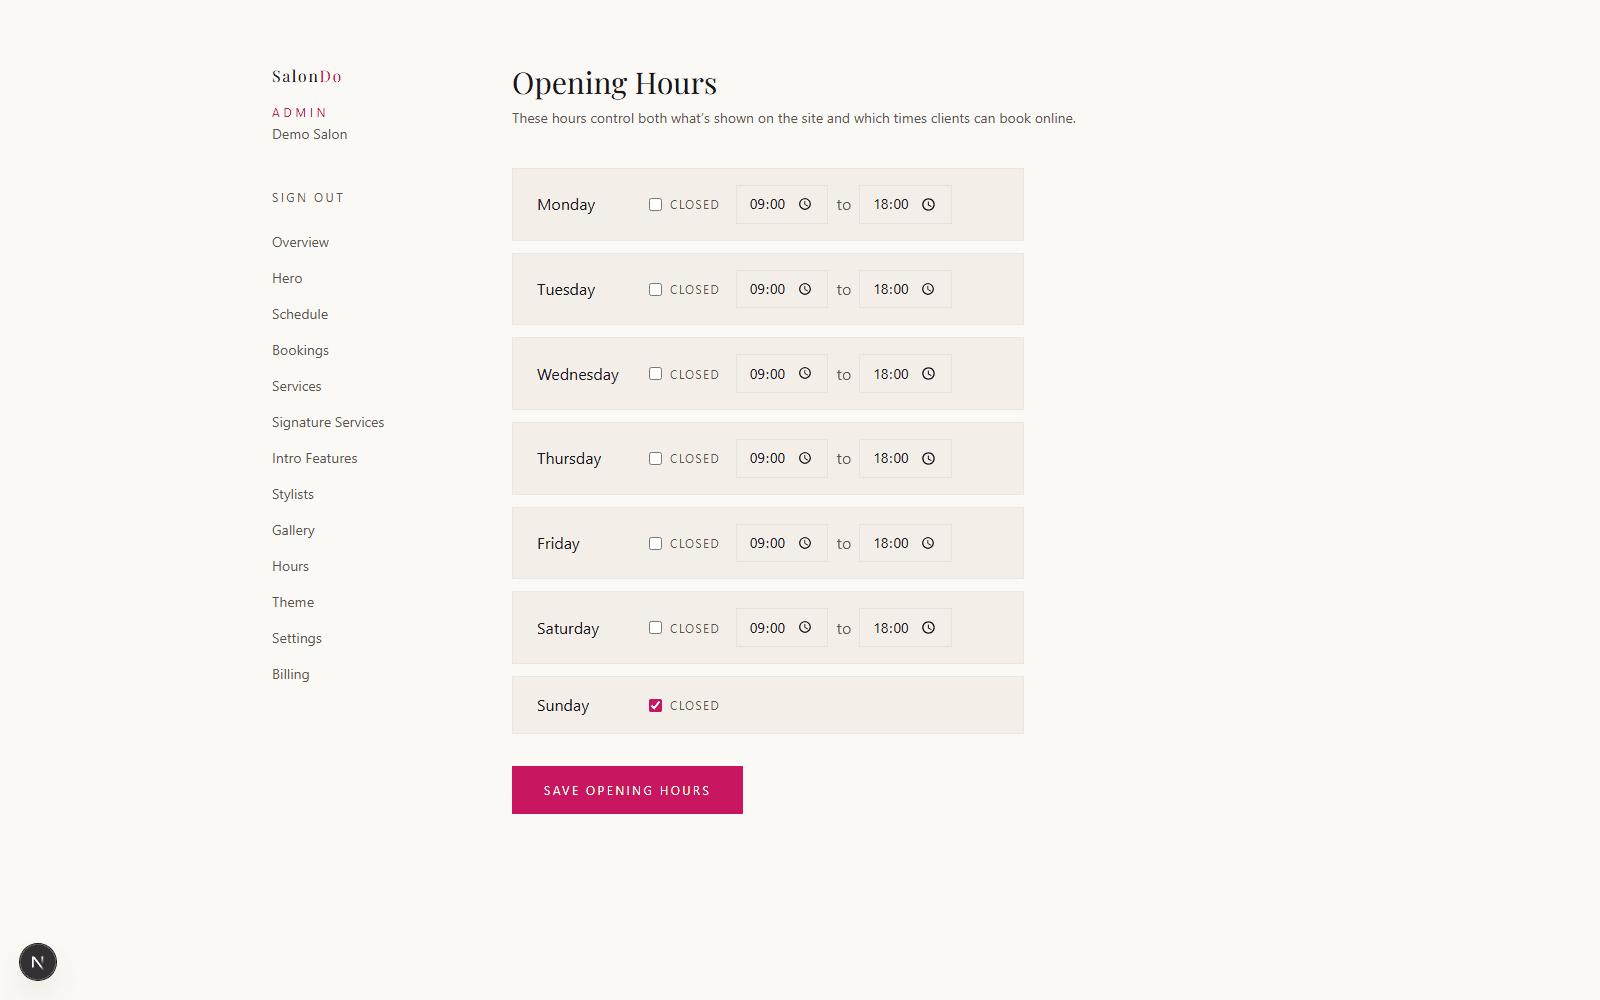
These hours control both what's shown on your site and exactly which time slots clients can book online — so they do double duty, and it's worth keeping them accurate.
Add your logo
Admin → Settings
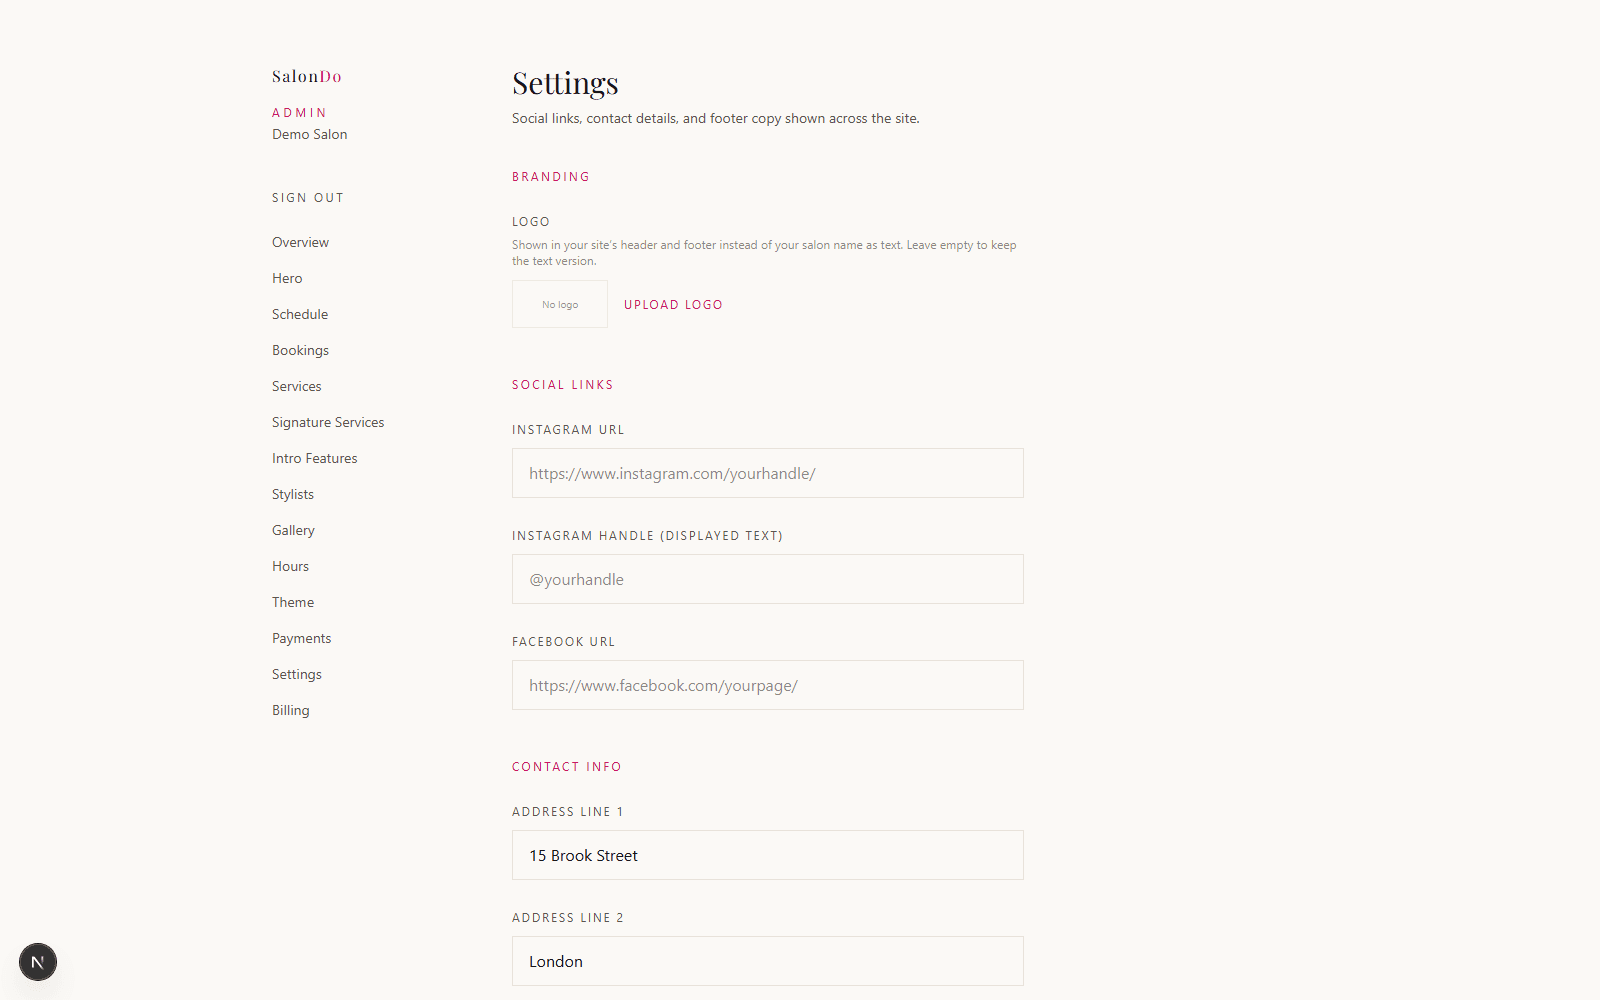
Upload a logo under the Branding section at the top of Settings, and it replaces your salon name as text in both the header and footer of your site. Leave it empty and the text version stays — this is entirely optional.
Add your business details
Admin → Settings
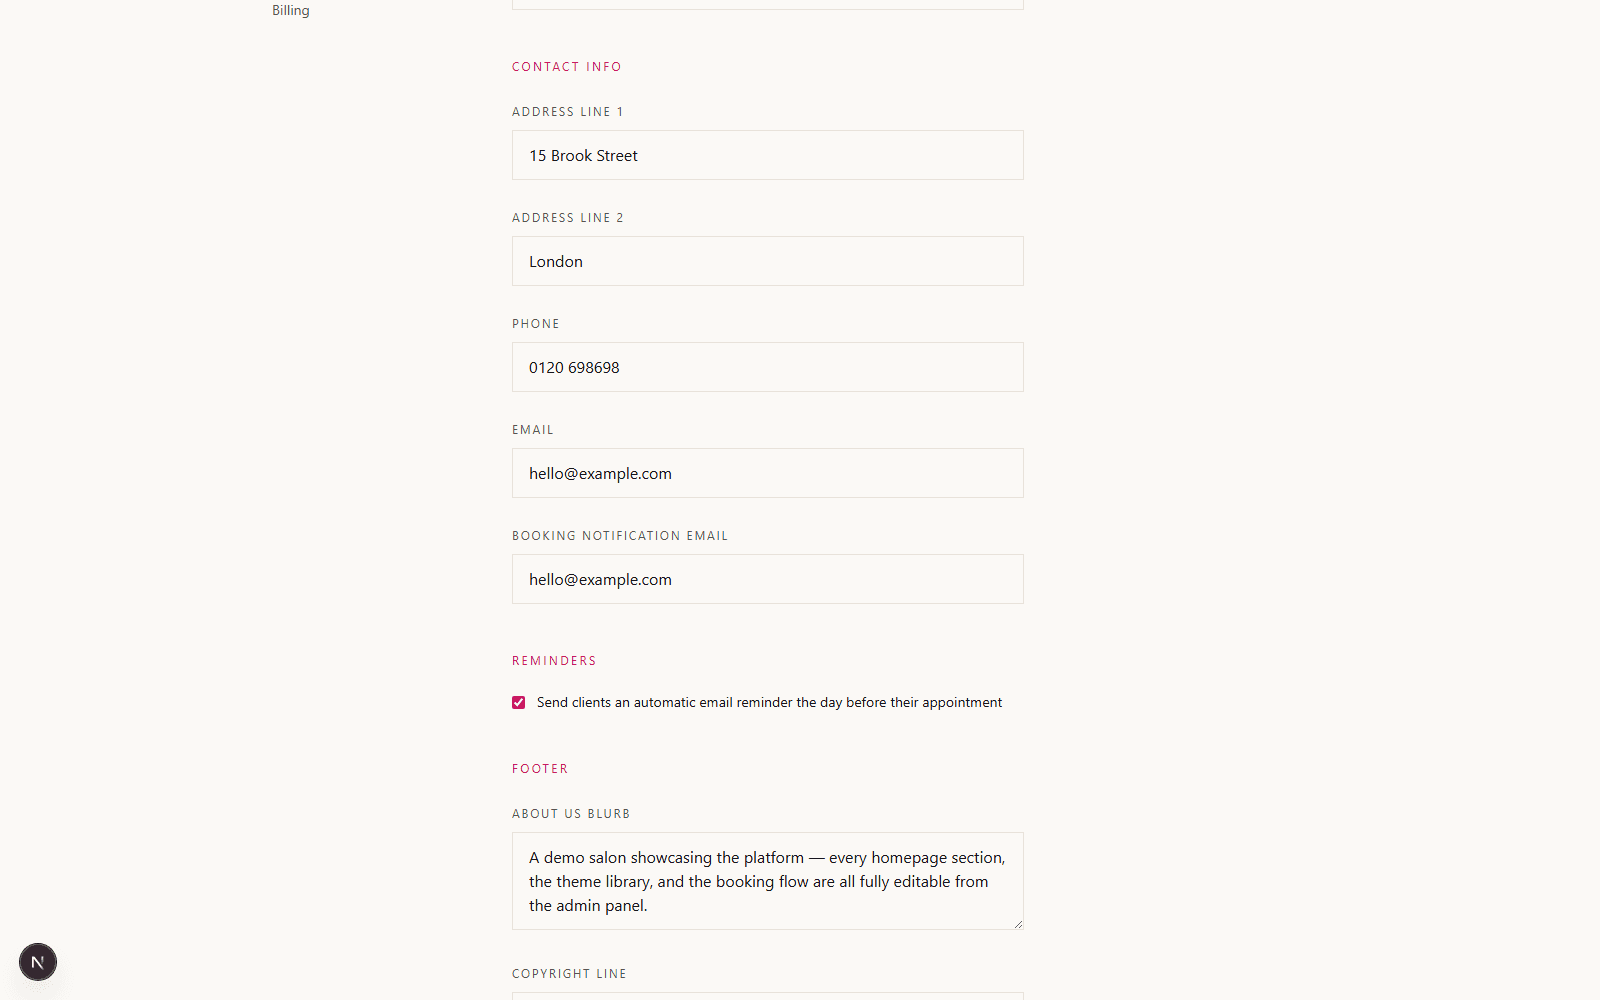
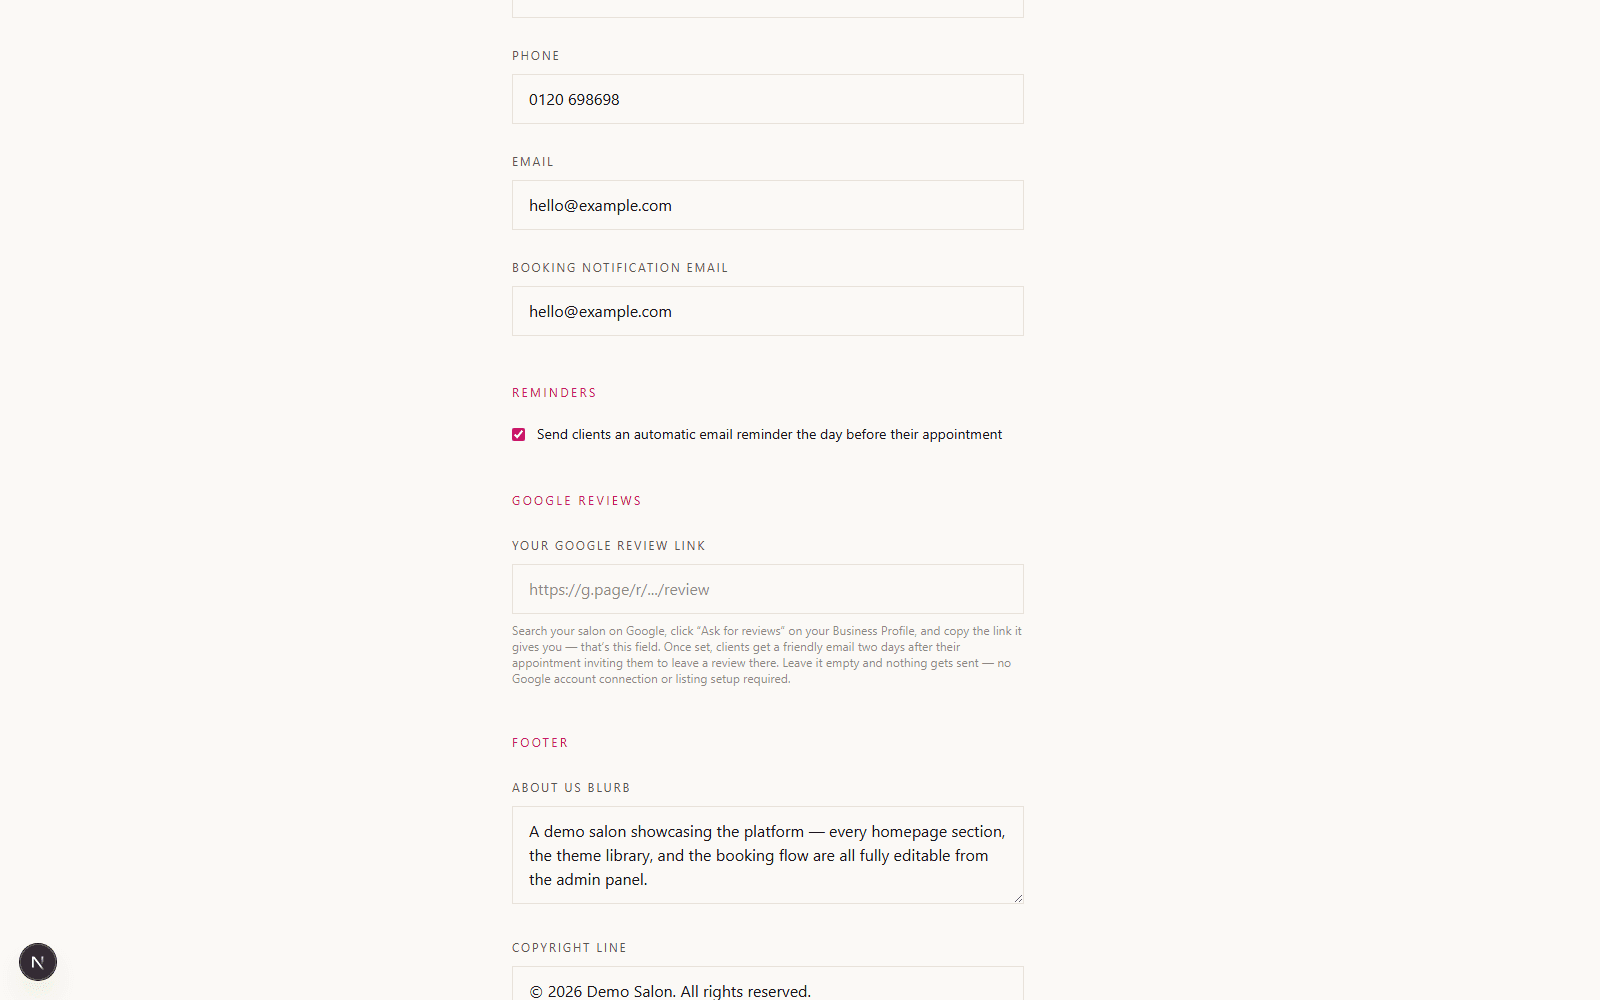
Set your address, phone number and contact email — this is what shows in your site's footer and contact page, and it's where booking notifications get sent, so use an email you actually check. You can also add your Instagram and Facebook links here.
Ask for Google reviews (optional)
Admin → Settings
Search your salon on Google, click “Ask for reviews” on your Business Profile, and paste the link it gives you into the Google Reviews field. Once set, clients get a friendly email two days after their appointment inviting them to leave one — no Google account connection or listing setup on our side needed.
Connect Stripe to take deposits (optional)
Admin → Payments
Click “Connect with Stripe” and follow the prompts — it takes you to Stripe and back. Once connected, set a deposit amount and clients pay it online the moment they book, straight into your own Stripe account. Skip this step and clients can still book online, they just won't be asked to pay a deposit.
That’s the basics live.
One more thing before you share your booking link: add your services and assign them to each stylist — without that step, clients won’t actually be able to book anyone.